Table Explorer
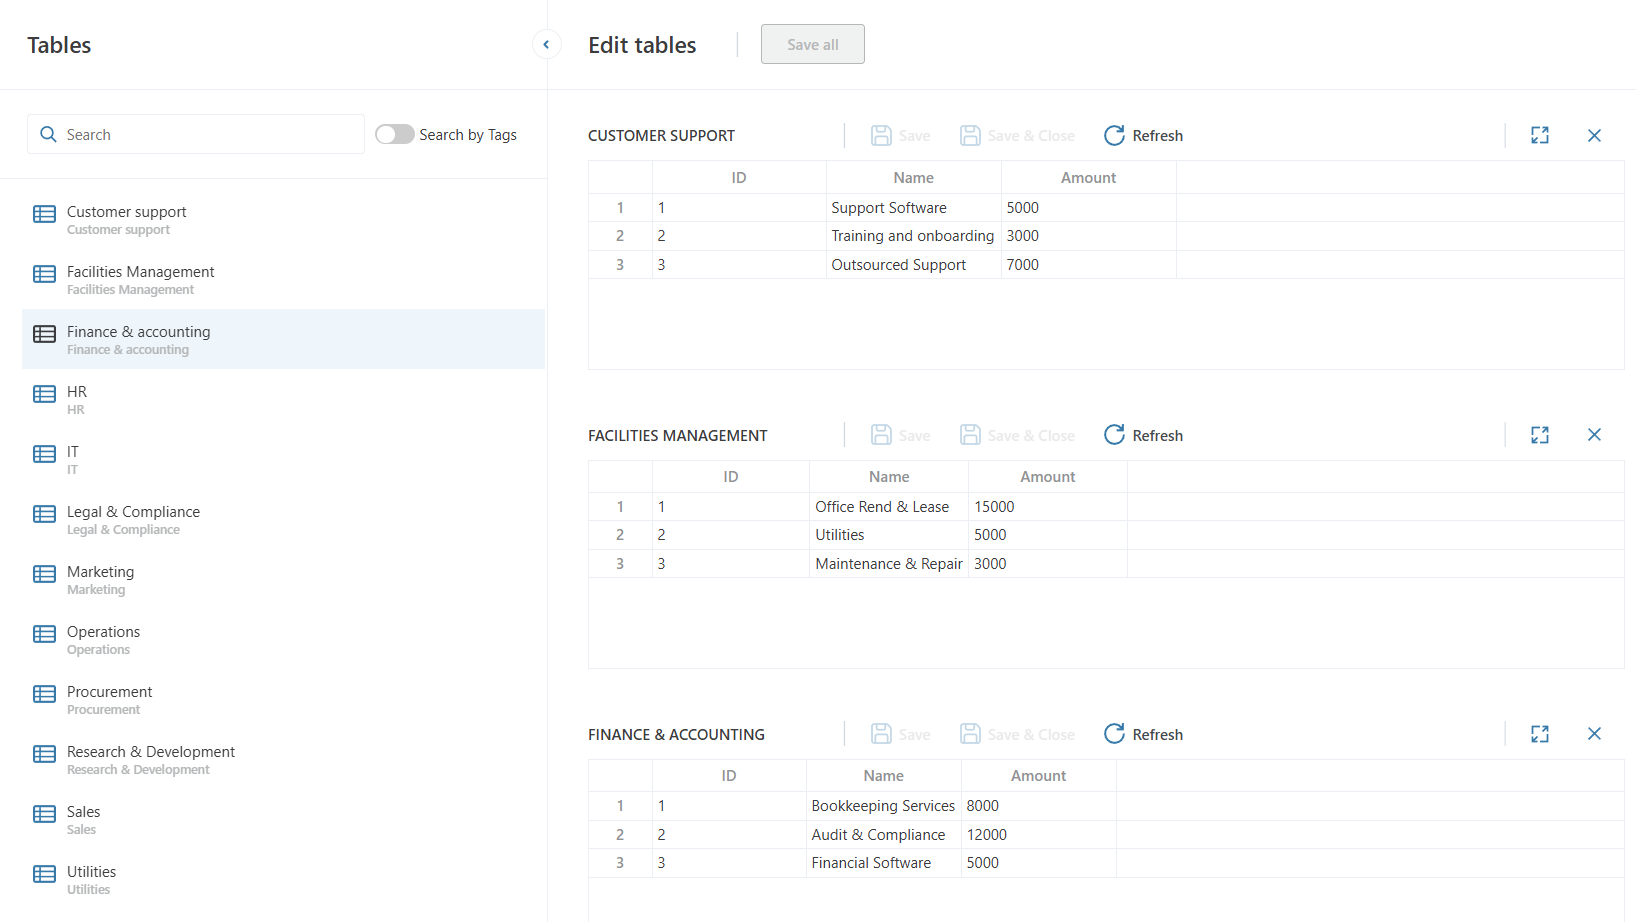
The Table Explorer lets developers group tables by business domains so users can quickly discover and edit related data in a single UI instead of switching between multiple tabs, pages or Workbooks.
Getting started
To display a Table in a Table Explorer
- Open a Table for edit in the InVision Designer.
- Switch to the Listing tab.
- Check Display in Table Explorer(s)
- Add a Table Explorer component to a Workbook (in the same Solution)
Properties
| Name | Description |
|---|---|
| Context filter | Use this property to specify which Tables to display in the Table Explorer. Only Tables with at least one matching Context string is displayed. Use semicolons (;) to define multiple filter values. For example, Forecast; HR will display tables having a Context strings with Forecast OR HR tokens. If this field is left blank, all Tables marked as "Display in Table Explorer(s)" in the solution will be displayed. Read more about context filtering here: Context and context filtering |
Display in Workbook
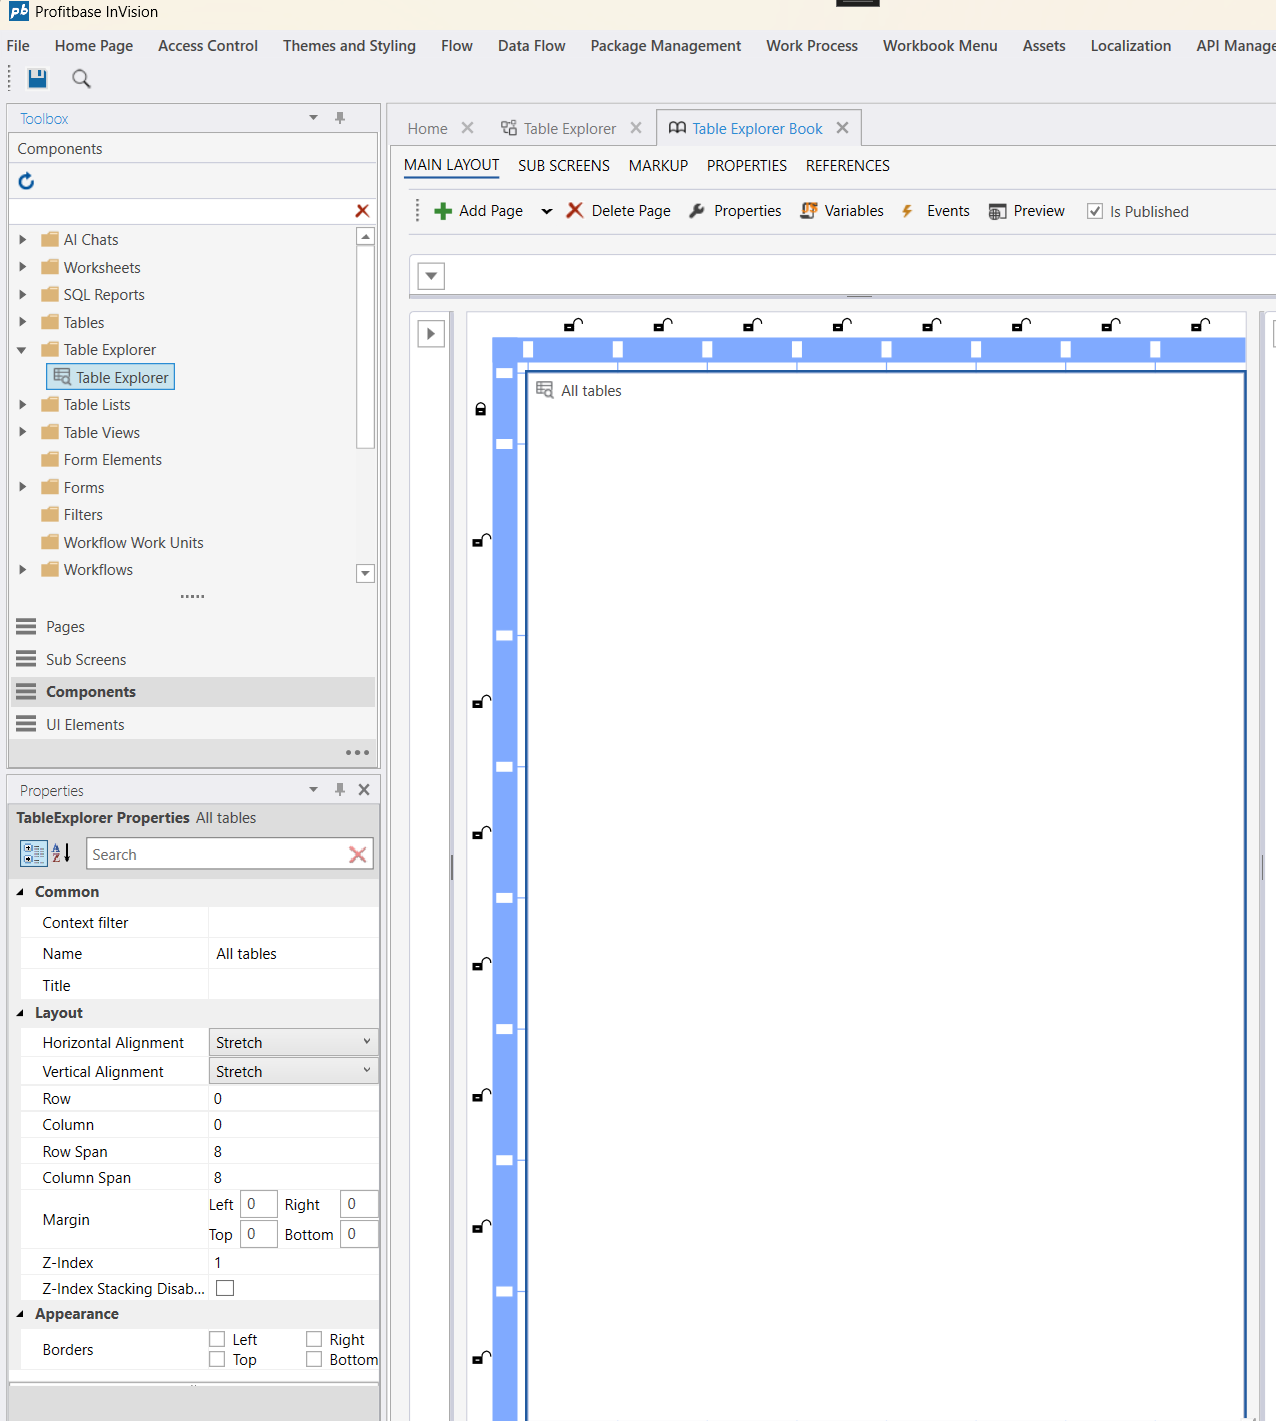
To display a Table Explorer in a Workbook, drag and drop it from the toolbox. By default, it will fill the entire page, but you can change this from the Properties panel if you want to.
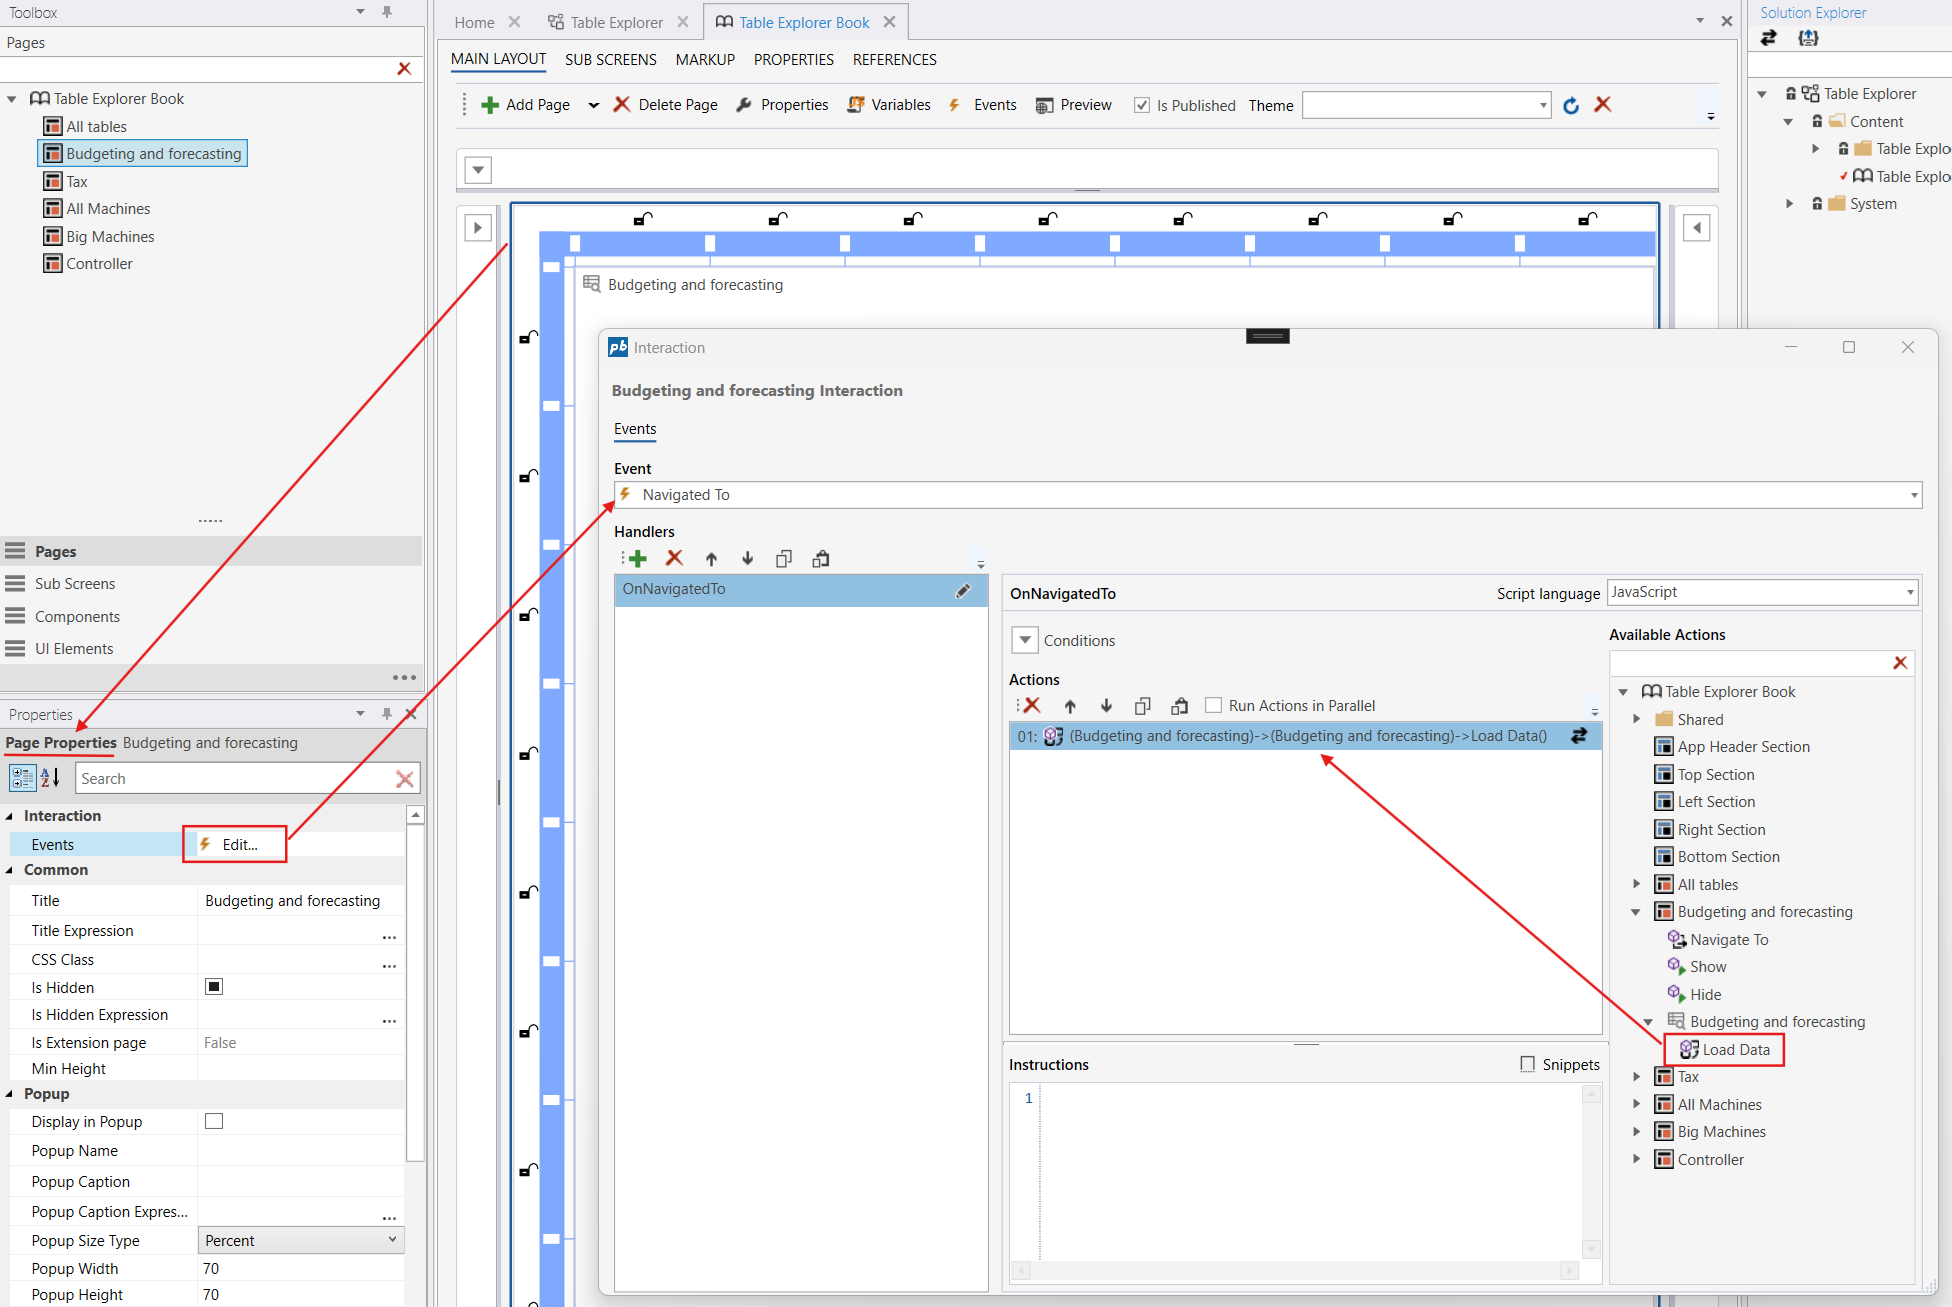
Run the Load Data-action of the Table Explorer to initialize the UI.