Processes and versions
Overview
This is where new work processes and their associated versions area created.
New work process
All versions must belong to a work process, for example Budget, Forecast or similar.
In order to create a new work process, click the + button:

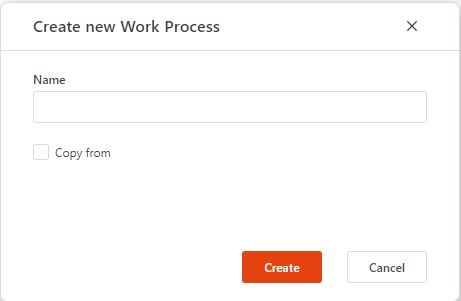
In the following dialogue, enter the work process name and click the Create button:
Work process content
Once created, the process will show up in the left most section.
Select the Configuration node under the work process in question (left most section) and the Content tab to set the content of the work process:
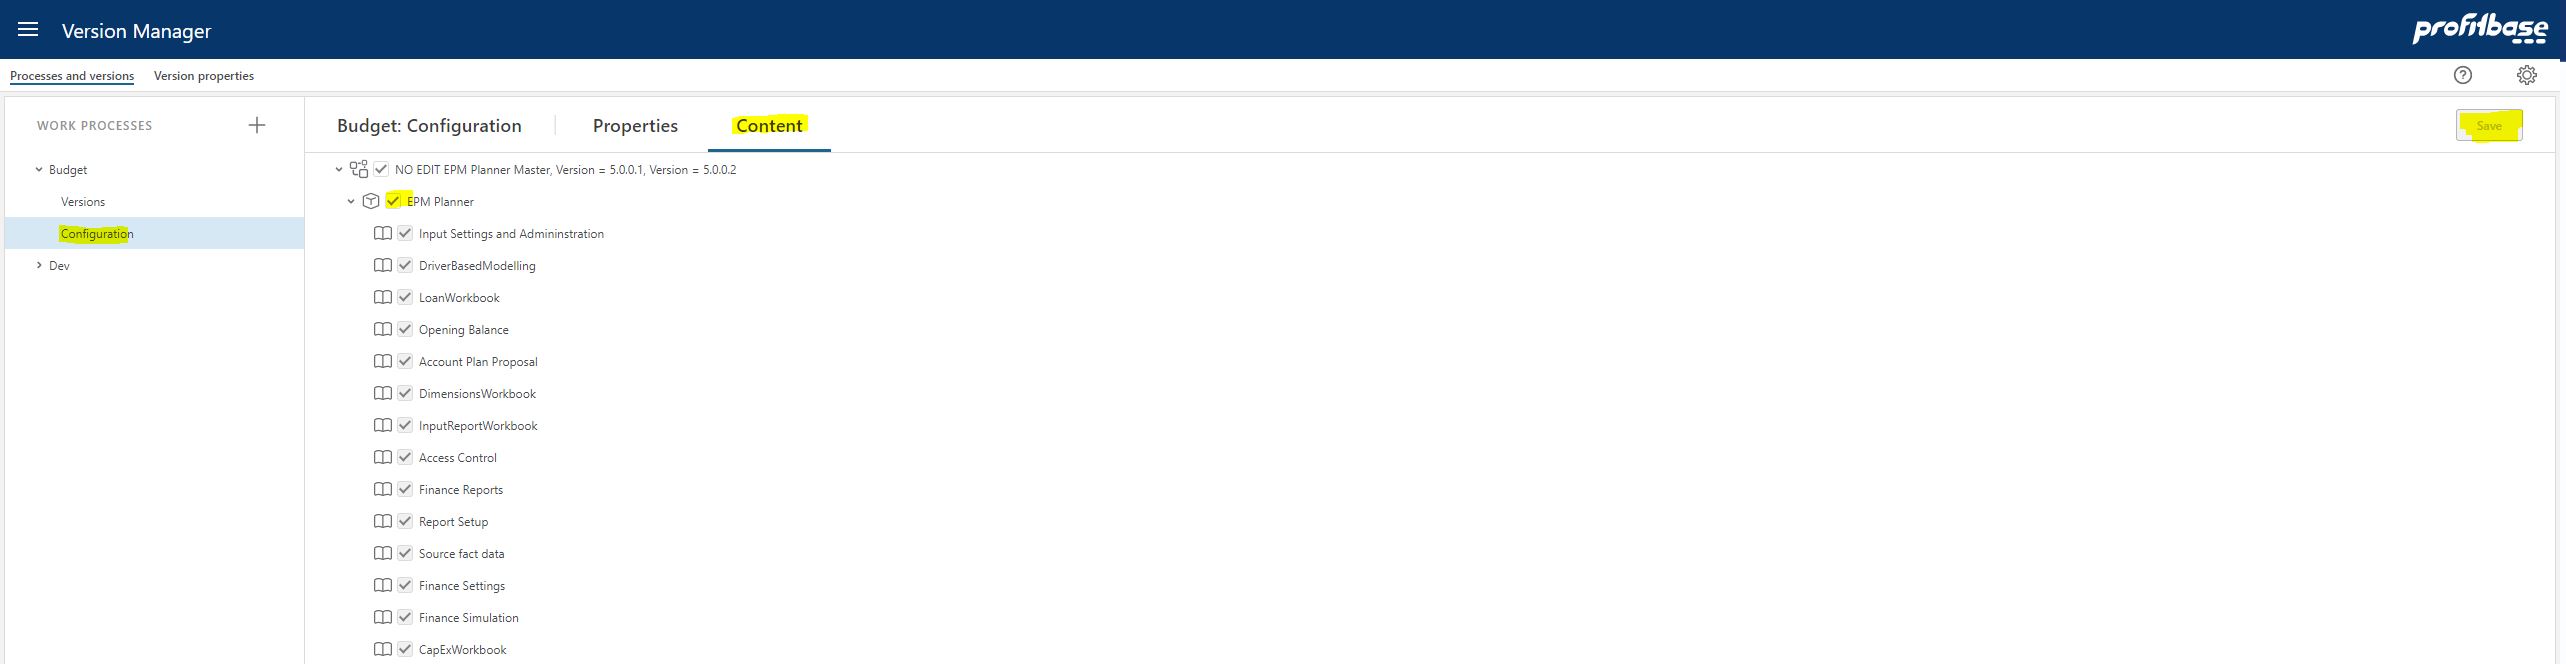
For standard Planner work processes, this will involve checking the "EPM Planner" node as shown.
Once checked, click the Save button.
Work process administrator access
The user who creates the process will automatically be assigned process administrator access to the process and any versions that will be created based on it.
A process manager may create new versions, open and close existing versions as well as delete versions. A process administrator can also access a version once it has reached the deployed state, that is prior to when contributors who are granted access to the version are able to access the version.
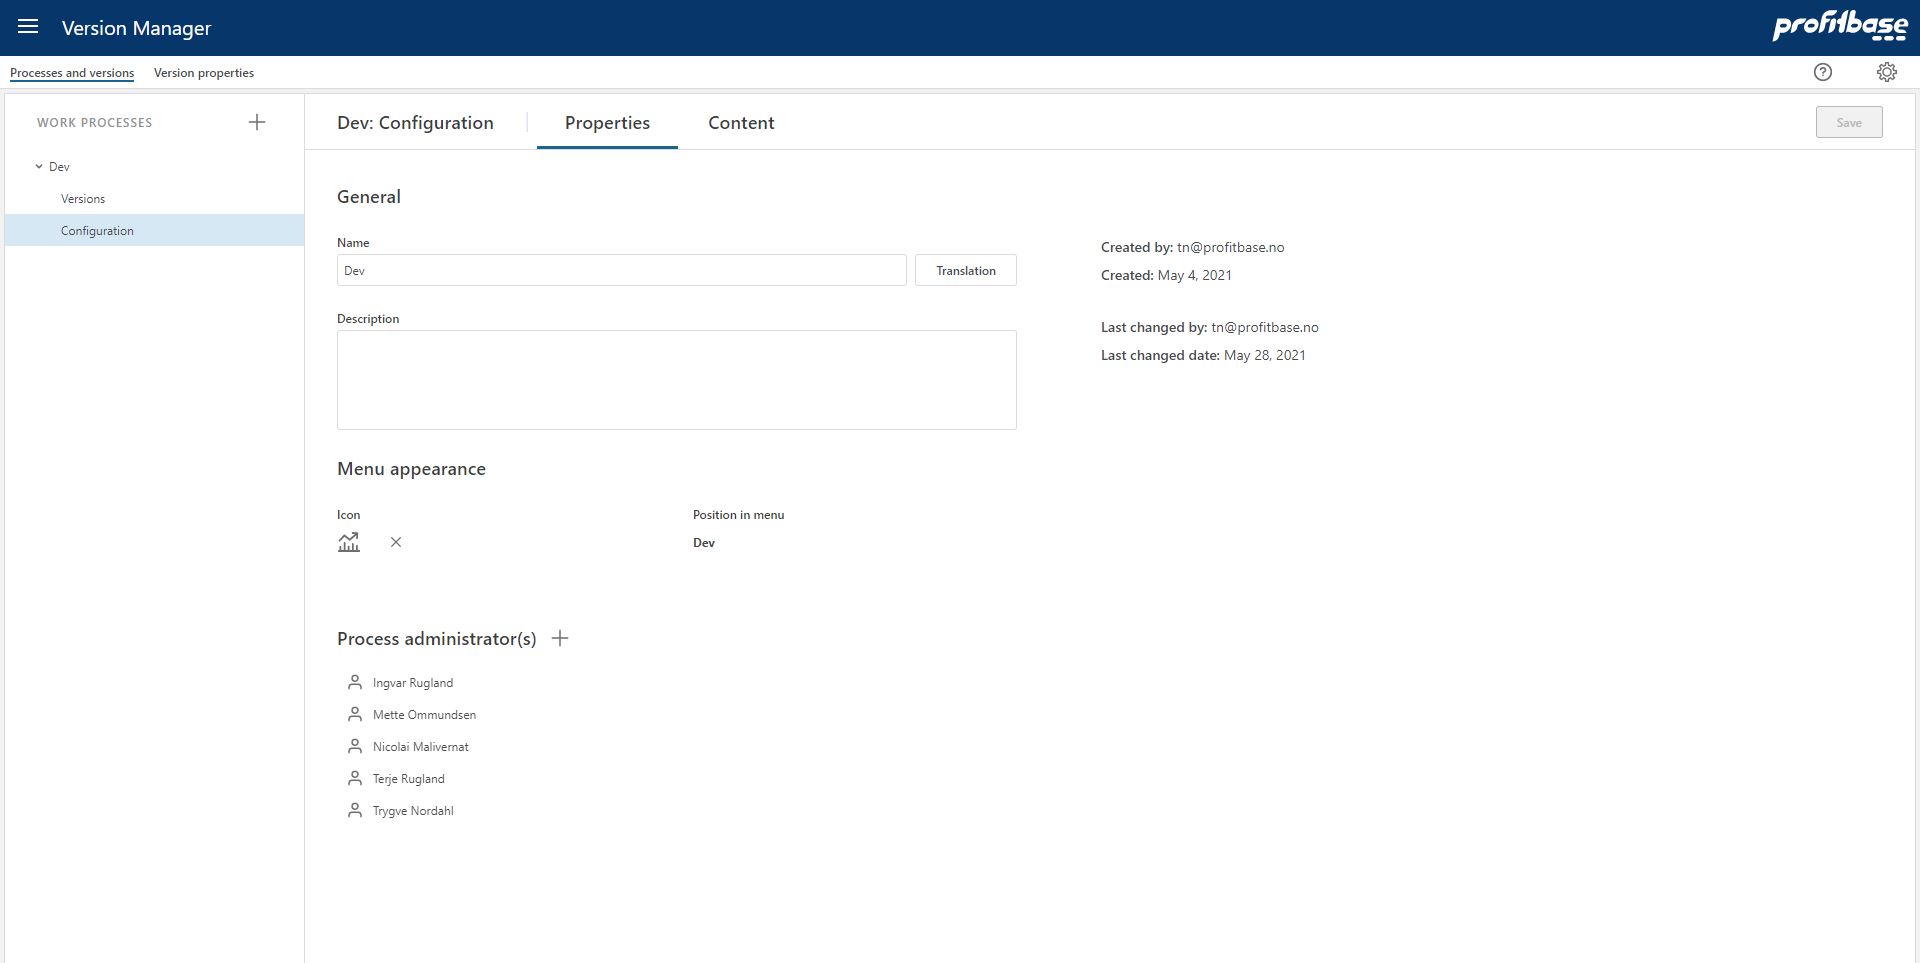
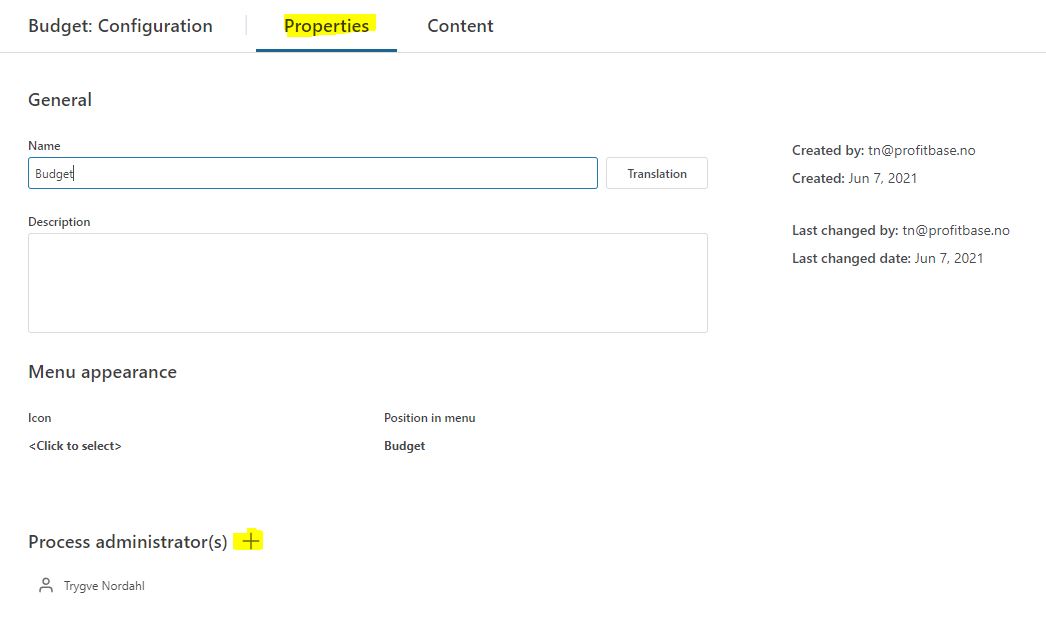
Consider if additional users should be granted process administrator access. This is done on the Properties tab of the process in question, by clicking the + button and selecting appropriate users from the dialogue that follows:
Create new version
Versions belong to a particular work process. If no work processes exist, you must create a work process before you create a version, see above.
To create a new version, select the Versions node under the work process in question (left most section) and click the "Create new version" button in the upper right corner:

In the following dialogue, the version specifics are set:
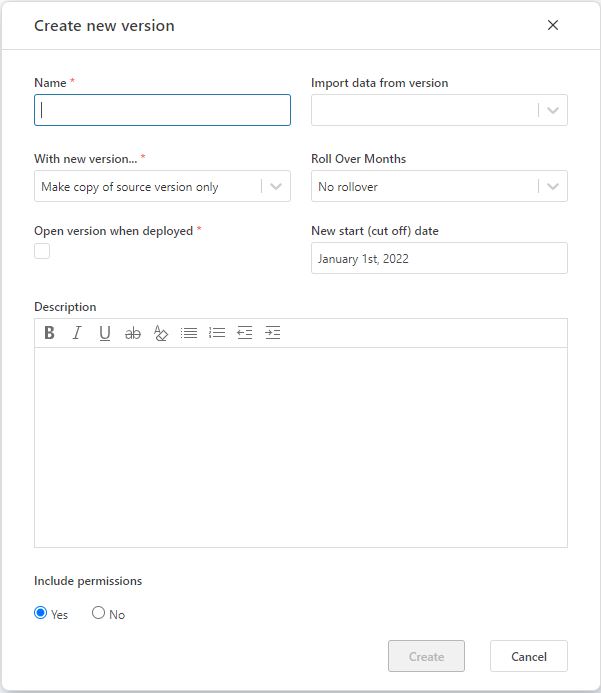
Having set the mandatory name of the new version, it is important to consider what you want to achieve with it.
There are 3 distinct version creation alternatives to choose from as given by the mandatory "With new version..." drop down:
"With new version..." alternatives
1. Make copy of source version only
If you just want to create a new that will be a copy of a previous version, this is the "With new version..." option to choose.
In addition, you must select:
- the source version that you want to copy. The source version is selected in the "Import data from version" drop down.
2. Roll forward from source version
If you want to create a new version that will be a rolled forward version of a previous version, select the "Roll forward from source version" option.
In addition, you must select:
- The source version that you want to copy. The source version is selected in the "Import data from version" drop down.
- The number of months that you want the new version to be rolled forward. This is selected in the "Roll Over Months" drop down.
3. Start fresh at new start date (reload data)
If you want the new version to start fresh (i.e. no copy but rather a reload of data), the "Start fresh at new start date (reload data)" is the option to choose.
In addition, you must select:
- The start date (cut off date between actuals and plan) for the new version. This is set in the "New start (cut off) date" field. Note that in solutions with specific fiscal regimes, this date is the fiscal and not the calendar start date of the plan. I.e. if you want to create a version for the fiscal year of 2022, the new start date will be January 1st 2022.
Before creating the new version, consider the following optional settings:
- "Open version when deployed" - after the version is created and deployed (materialized), you have the option of opening the version thereby making it available to contributors depending on their permissions. Opening the version is normally done manually, but you have the option of the version opening automatically once it is deployed by checking this option.
- "Description" - optional free text description.
- "Include permissions" - normally, access rights are carried forward to the new version. If this is what you want, keep the default setting (Yes). If not, make sure to select No.
Once the version specifics are set, click the Create button.
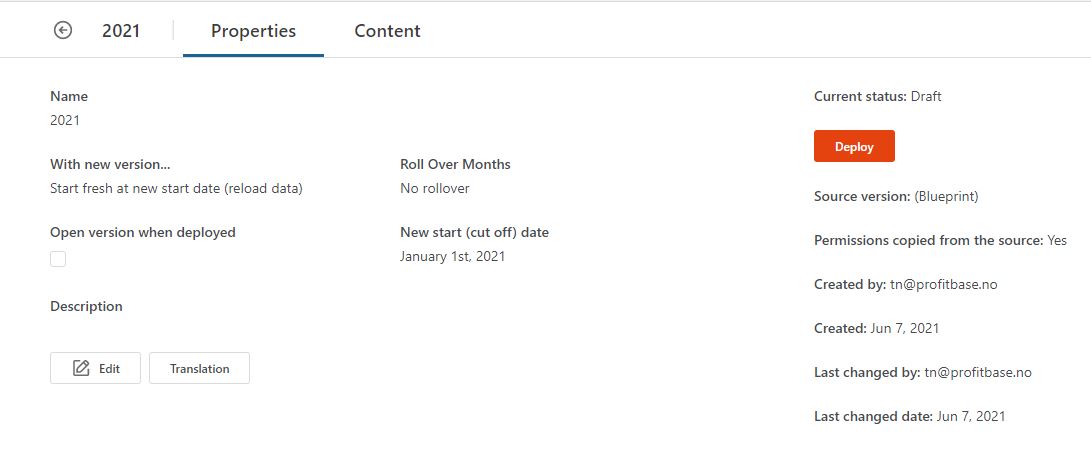
Deploy version
Once the version is created, it is left in the Draft mode which means that it is created but contains no data and is not accessible by anyone. The next step is to deploy (materialize) the version.
This is done by selecting the version and clicking the Deploy button:
Once the deployed button is clicked, note that it's caption changes to Progress. Click on it again to reveal the deployment log:
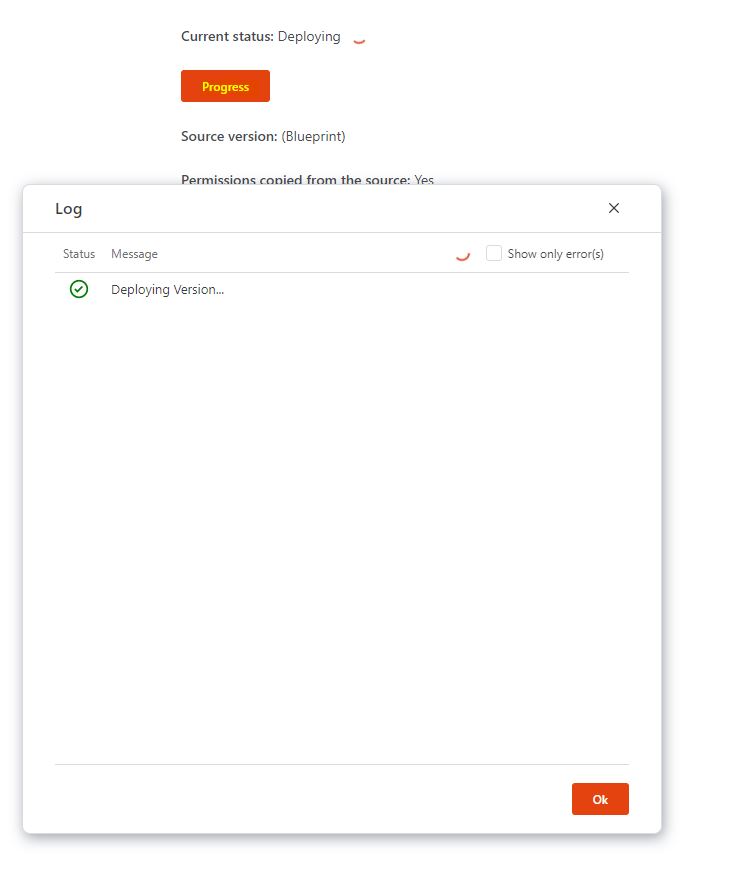
The deployment process will take time depending on the amounts of data involved. The version is deployed when the spinner stops and the version has reached it's Deployed status.
Open version
Once deployed, the version is only available to those set as process administrators.
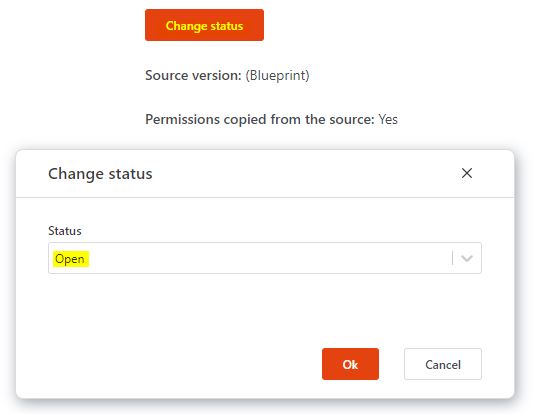
To make the version available to all contributors based on their permissions, you will have to Open the version. This is done by clicking the "Change status" button, selecting the Open status and clicking the Ok button:
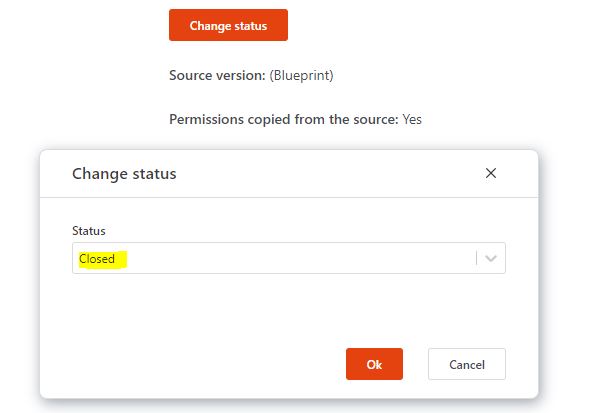
Close version
The life cycle of the version will typically end with it being closed. A closed version is still available to all contributors based on their permissions, but the version is in a read only mode making it a version of reference only to the contributors.
In order to close the version, click the "Change status" button, select the Closed option and click the Ok button: