HTTP trigger
When a Flow is executed from an HTTP request, the HTTP trigger defines how to convert the HTTP request body to a business object.
You can also get the HTTP endpoint of the Flow from the HTTP trigger. The HTTP endpoint is the URL used to execute the Flow from a 3rd party application.
Note
You must define at least one API Key with Execute permissions in order to execute a Flow from a 3rd party application. A Flow will have no public HTTP endpoint unless at least one API key is defined in the tenant.

Example
This flow is triggered by an incoming HTTP request. It first retrieves the total hours used for that project and then looks up the corresponding project name. Using this information, the flow generates an HTML representation of the report and converts it into a PDF file. Finally, it returns the PDF document as part of the HTTP response to the requester.
Properties
| Name | Type | Description |
|---|---|---|
| Title | ||
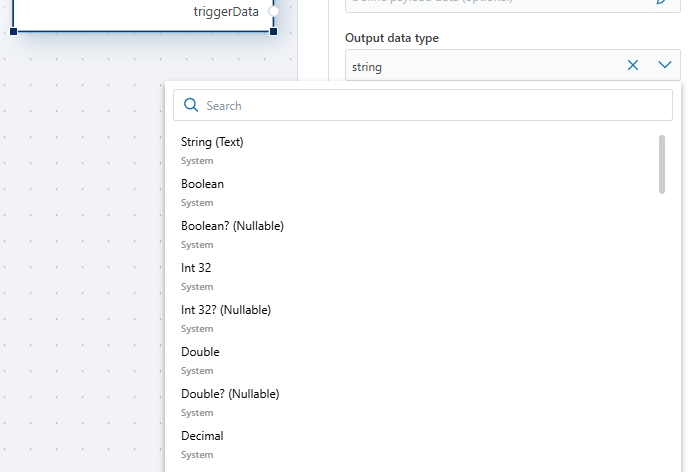
| Output data type | Required | The type of data returned by the HTTP trigger after processing the request. |
| Default data | Optional | Default input data used if no data is provided in the request; useful for testing with mock data. |
| Show endpoints | Option to display HTTP trigger endpoints, providing the URL for external application calls. | |
| Data variable name | Optional | Name of the variable containing the data. |
| Description | Optional | Additional notes or comments about the trigger's purpose or configuration. |
Returns
This trigger returns a single variable with the specified name and Output data type.

Default data
While developing a Flow that will be executed from 3rd party clients like Profitbase InVision or custom apps, you most likely want to test the Flow by executing it from the Designer. This way, you don't have to switch to the 3rd party apps to do test runs.
If the Flow expects a parameter, you can use the Default data property to define a mock business object that is used when the Flow executes. Note that the Default data object is also used as parameter data if no data is passed from the caller (3rd party app), so remember to remove the Default data definition when you're done developing the Flow (unless you want to enable a fallback value if 3rd party clients do not provide a value to the parameter).

Example
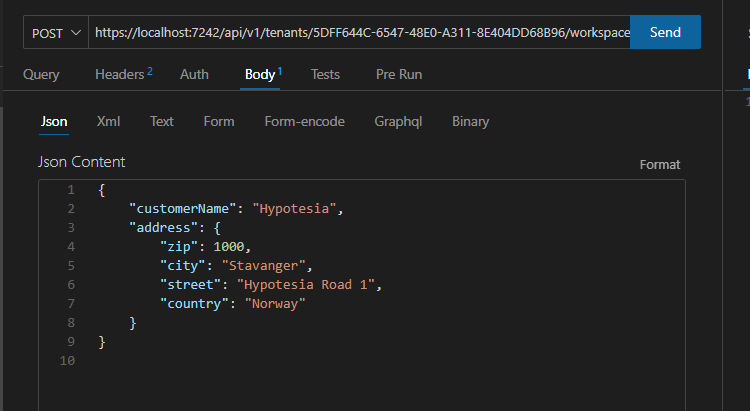
This example demonstrates how to run a Flow from the Thunder Client Visual Studio Code plugin.
The Flow will add a new customer to a database. The name and address of the customer is passed to the Flow via the HTTP request body.
The customer object looks like this:
{
    "customerName": "Hypotesia",
    "address": {
        "zip": 1000,
        "city": "Stavanger",
        "street": "Hypotesia Road 1",
        "country": "Norway"
    }
}
1) Create a new Flow
Create a new Flow from the Portal or from the File menu in the Designer.
2) Add an HTTP trigger
Add an HTTP trigger to the Flow. This is where you define the shape of the customer object passed in from the caller. By defining the customer object, you can reference it and its properties later in the Flow.
1) Select the HTTP trigger and click the Data Definition in the Properties panel to define the customer object.
2) Choose CSharp as format, and define the following types.
public class Customer
{
    public string CustomerName {get;set;}

    public Address Address {get;set;}
}

public record Address(int Zip, string City, string Street, string Country);
Note
If you need to use multiple types to define the data type of a request body, the main type must be defined at the top.
3) Add the new customer to the database
1) Add a SQL Server Execute command action and connect the output and input ports of the HTTP trigger and Execute command action.
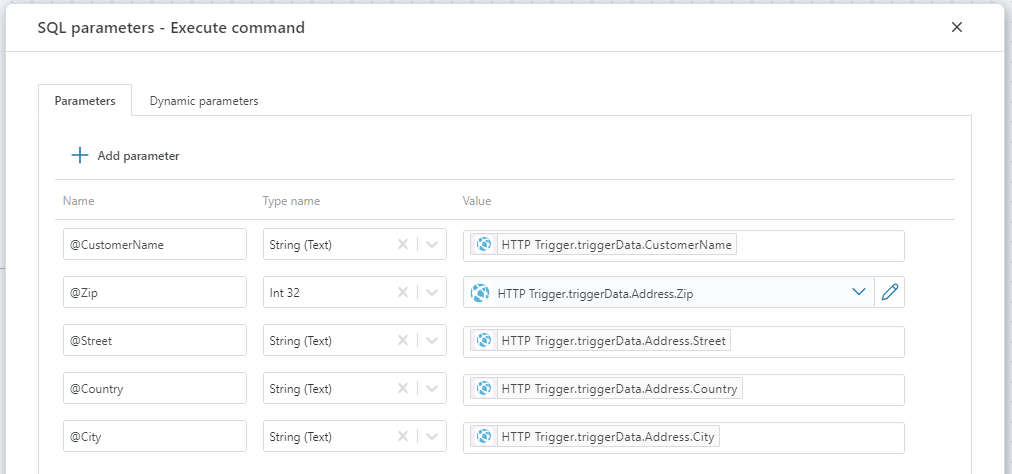
2) Select the Execute command action and define the following SQL parameters in the Properties panel.

3) Define the following SQL expression in the Properties panel.
INSERT INTO Customers (CustomerName, Zip, City, Street, Country) VALUES(@CustomerName, @Zip, @City, @Street, @Country)
4) Run the Flow from Thunder Client in VS Code.
1) Select the HTTP trigger and click Show endpoints in the Properties panel.
2) Copy the Short running URL to the clipboard.
3) Switch to the Thunder Client in VS code and create a new request.
1. Use POST as HTTP verb
2. Paste the URL from step 2)
3. Copy the Customer JSON object above and paste it into the JSON Content field
4. Press Send to execute the Flow. If everything is defined correctly, you should now have a new customer row in the database. If you do not see the expected result, you can inspect the Execution logs to investigate any issues.
Videos / Getting started
Generate a PDF file with tabular data
This video shows how to generate a PDF file with tabular data using the Adobe PDF Services API, and download the generated file from an InVision Workbook.
It uses the HTTP trigger and Return File HTTP Response actions to handle the request and return the file.
