Data Flow Schedule
The Data Flow Schedule component enables end users to create and edit the scheduled runs of Data Flows from a Workbook instead of having to use the Designer.
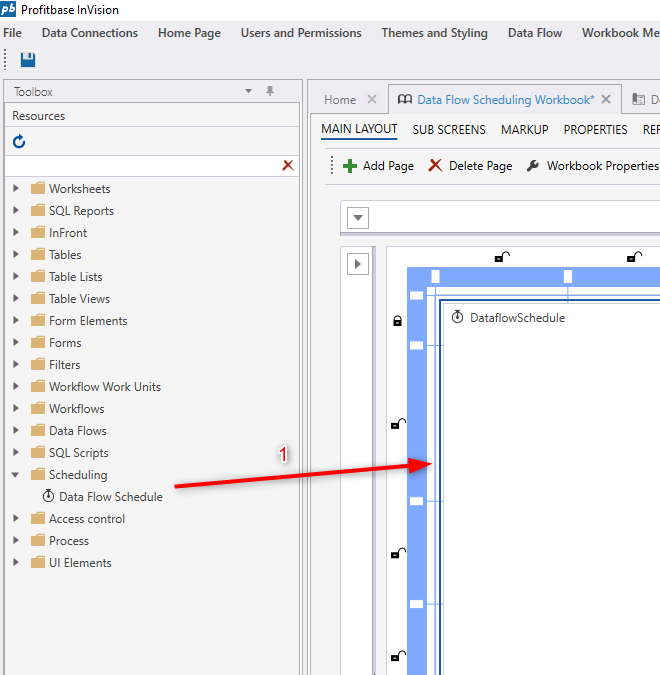
How to add a Data Flow Schedule component to a Workbook
- Open the Workbook Designer,
- Drag and drop the Data Flow Schedule component onto the surface.
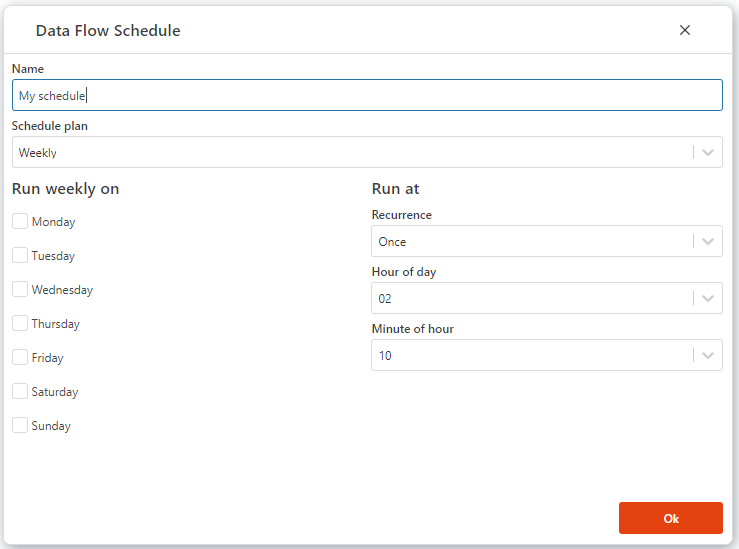
How to create a New Schedule for a Dataflow
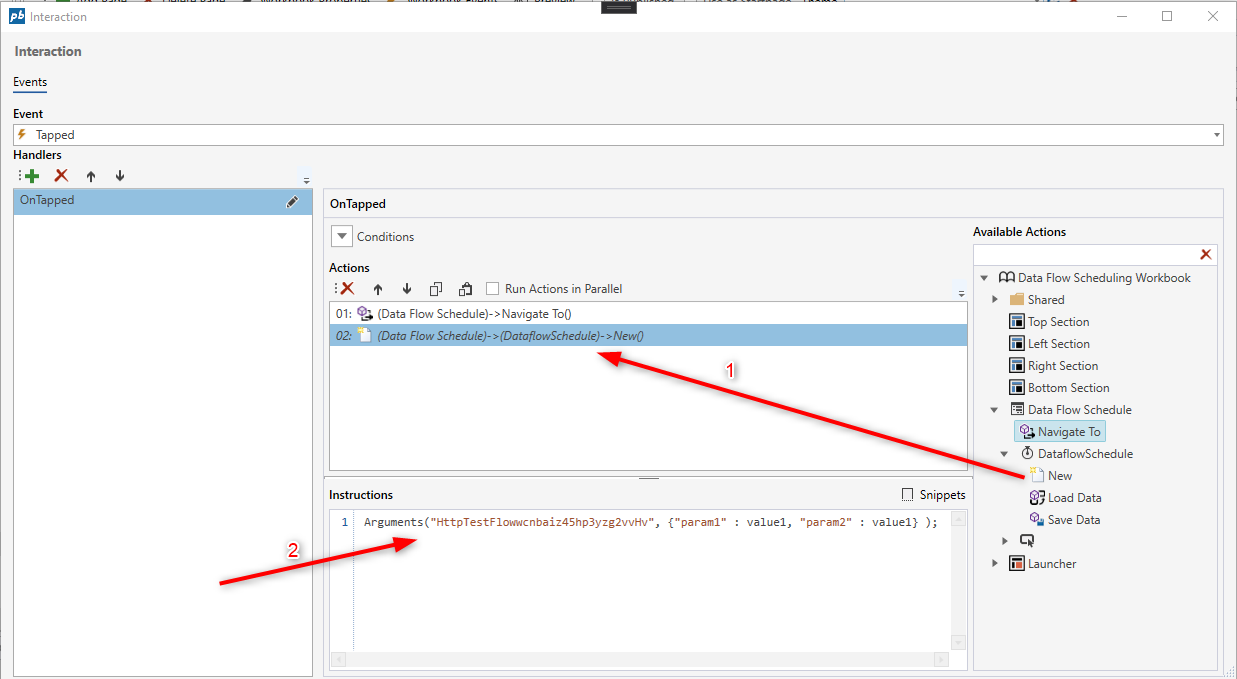
To create a new Data Flow Schedule, you need to execute the New action of the Schedule component and provide the id of the Data Flow. You can also provide one or more parameters that you want the Dataflow to be executed with.
- Find the Data Flow Schedule component in the Actions explorer (for example for a button tapped event),
- Drag and drop the New action into the Actions list,
- Use the Arguments(...) function to specify the id of the Dataflow. Optionally, you can define parameters that will be passed to the Dataflow when the schedule is run as the second parameter of the Arguments function.
Tip:
Click the Snippets button above the Instructions field to view the available functions to call.
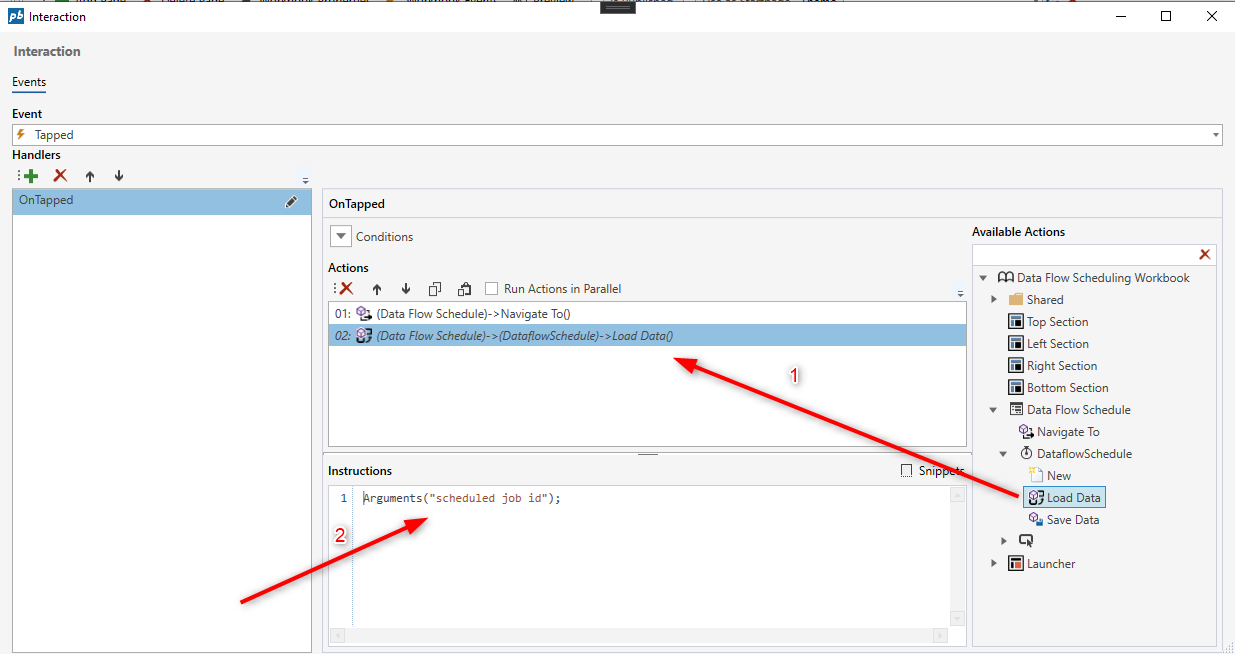
How to Edit a Schedule
To edit a Dataflow Schedule, you need to provide the schedule id to the component.
- Find the Data Flow Schedule component in the Actions explorer (for example for a button tapped event),
- Drag and drop the Load Data action into the Actions list,
- Use the Arguments(...) function to specify the id of the scheduled job to edit.